Elements
AD+Sign Pro
A Element is a configurable block of digital signage content that can be added to a Page. Different types of Elements have different purposes.
| Element Type | Description |
| Media Library | A media library works like a slideshow, cycling through images and video in a group. A Media Library Element can cycle through many Media Libraries one after the other. |
| RSS Feed | When an RSS Feed URL is specified, this element displays the RSS feed text contents on a Page. |
| HTML | Insert HTML content straight onto your Page. From simple things like text and headings, to <iframes> hosting interactive applications. |
| Text | A rich-text element allowing for customisation of font, size, colour and alignment properties |
| iFrame | A way to embed other web content into your AD+Sign digital signage |
| Canva Design | A quick way to embed designs from Canva into your AD+Sign digital signage |
| YouTube | Embed YouTube videos into your AD+Sign digital signage |
| Current Weather | Specify a location and show current weather data in your AD+Sign digital signage |
| Weather Forecast | Display a 5-day forecast for a given location in your AD+Sign digital signage |
| Digital Clock | Show the current time in your AD+Sign digital signage in your chosen format |
| Picture-in-Picture (PIP) | Specify an area for the HDMI passthrough on your AD+Sign Player |
Using Elements
Navigate to the Canvas of the Page you wish to edit.
Adding a Element
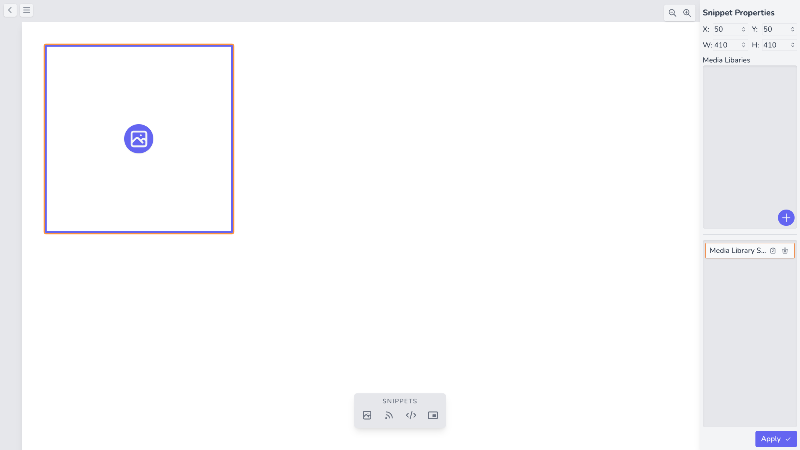
To add a Element to the Page, click the icon button in the Elements Panel. You can add a Media Library to the Page using the photograph icon . The Element will be added to the Page and shall appear in the Canvas.
Selecting Elements
You can select a Element by clicking on it, either on the canvas or in the Elements portion of the Properties Panel. It will highlight with an orange outline when selected.
Moving Elements
Elements can be moved by clicking and dragging it into position on the canvas. Alternatively, you can use the X and Y coordinates in the Element Properties when the Element is selected. Here you can type the pixel coordinates of where you'd like to place the Element.
A Element's X and Y coordinates refer to the top-left corner of the Element's bounding box.
Resizing Elements
Elements can be resized using the W and H values in the Elements Properties when the Element is selected. These values refer to the Width and Height of a Element in pixels.
Remove Elements
Remove a element by finding it in the Elements portion of the Properties Panel and clicking the button.

Applying Changes
To ensure that your changes are applied to the Page, click Save Changes . Your changes will be reflected immediately in the Page Preview.
- If you are editing a Player Page and the Player is online, you will have the option to Save and Refresh Player
- This will save your changes and refresh the Player's content to reflect the changes you have made
Picture-in-Picture (PIP) Elements
Picture-in-Picture (PIP) Elements are used to specify an area on the Player's screen where the HDMI passthrough will be displayed. This is useful for displaying live TV or other HDMI sources on your digital signage.
Picture-in-Picture Elements will appear as blank rectangles in Page Previews and will always appear above any other Elements on a Page.
This is because the displaying of a PIP Element is handled locally by the AD+Sign Player
Web Elements
AD+Sign Pro signage supports adding web content to your digital signage. This can be done using:
- iFrame Elements
- YouTube Elements
- Canva Elements
AD+Sign cannot guarantee stability of web-based content. Please ensure that the content you are embedding is secure and will not disrupt your digital signage.