Media Libraries
AD+Sign Pro
Using Media Libraries
Navigate to the Canvas of the Page you wish to add a Media Library to.
Adding a Media Library
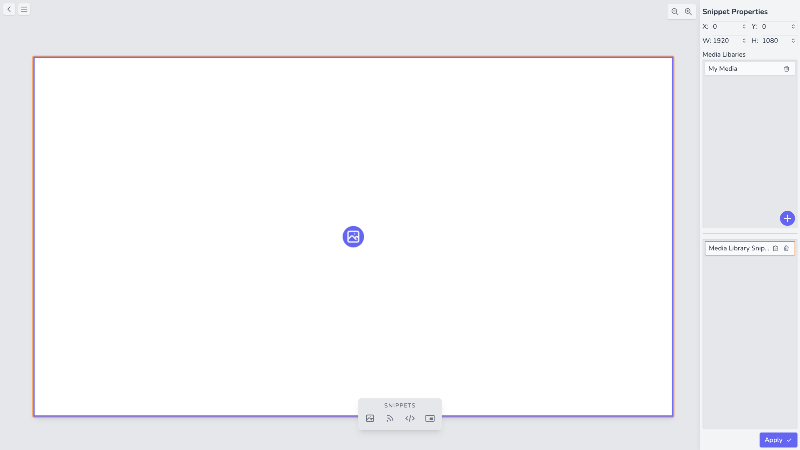
- First, add the Media Library Element to the canvas using the button in the Elements panel.
- Select the Element by clicking on it, either on the canvas or in the Elements portion of the Properties Panel. It will highlight with an orange outline when selected.
- Move and resize the Element as preferred.
- In the Element Properties panel, click to open the Media Library menu.
- Here you can choose to add an existing Global Media Library, or create a new Media Library.
- Click 'Create New Media Library', give it a name and click Create Media Library

Uploading Media
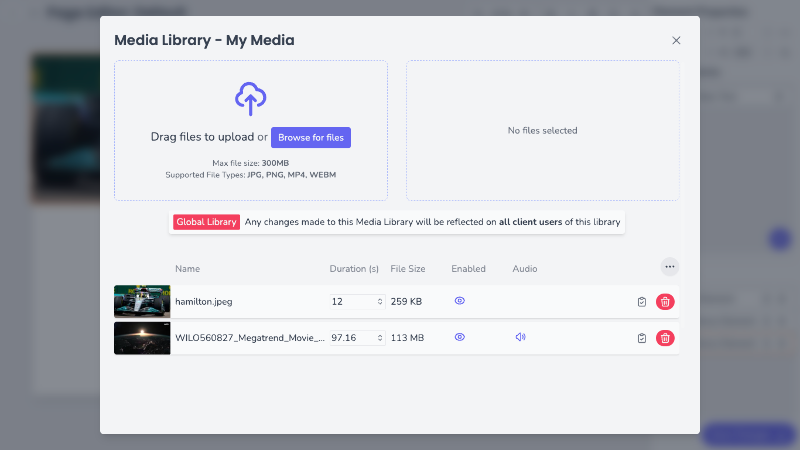
- Click the Media Library you wish to add content to - this will open the Media Library modal.
- Click Browse Files and select your files, or drag them into the File Upload section in the modal
- Review the list of chosen files in the top-right of the modal, then click Upload to upload the files.
The upload process may take a few minutes, depending on your connection speeds and the size of the files you are uploading.
- Once your media has been uploaded and processed, a thumbnail of the media will be shown by the Media list item.

Enabling Media
Media will not be visible on your Player until you enable it
When media is uploaded to a Media Library, it is initially 'disabled', allowing you to make any changes to it you need to before it can be seen by your viewers.
- Find the media you wish to enable in the Media Library modal
- Click the button in the 'Enabled' column to enable it.
- The media will now be enabled. You can disable it by clicking
You can find the 'Enable/Disable All' option in the context menu via the button
Setting Media Duration
By default, an uploaded image will be displayed for 10 seconds before transitioning to the next media item. If only one image is in a Media Library, no transition will take place.
Uploaded videos are initially given a duration equal to the length of the video, showing the whole video before transition to the next media item. If a Media Library only contains one video, the video will loop.
- Use the number input on the Media item to set a new duration for that item
- Apply your changes by clicking the button
You can find the 'Set Duration for All' option in the context menu via the button
Deleting Media
- Find the media item you wish to delete
- Click the button
- In the 'Delete Media' modal, click Delete Media
Your media has been deleted
Media Rules
See Rules - Media for instructions on how to use Rules with media.